How to Install Copper Pipe in Your Home: A Step-by-Step Guide for Beginners
When it comes to plumbing materials, copper pipe remains a top choice for both residential and commercial applications due to its durability, reliability, and resistance to corrosion. According to the Global Copper Pipe Market report published in 2022, the demand for copper piping is expected to grow at a compound annual growth rate (CAGR) of 4.1% over the next decade, reflecting its pivotal role in modern plumbing systems.
Copper pipes not only provide superior water quality by preventing leaching from the pipes but also have antimicrobial properties that contribute to safer drinking water. This step-by-step guide for beginners aims to demystify the process of installing copper pipes in your home, equipping you with the necessary skills and confidence to undertake this valuable improvement to your plumbing system. Whether you're remodeling a room or replacing old pipes, understanding how to effectively work with copper pipe can enhance your home's efficiency and longevity.
Understanding the Basics of Copper Pipe Installation in Your Home
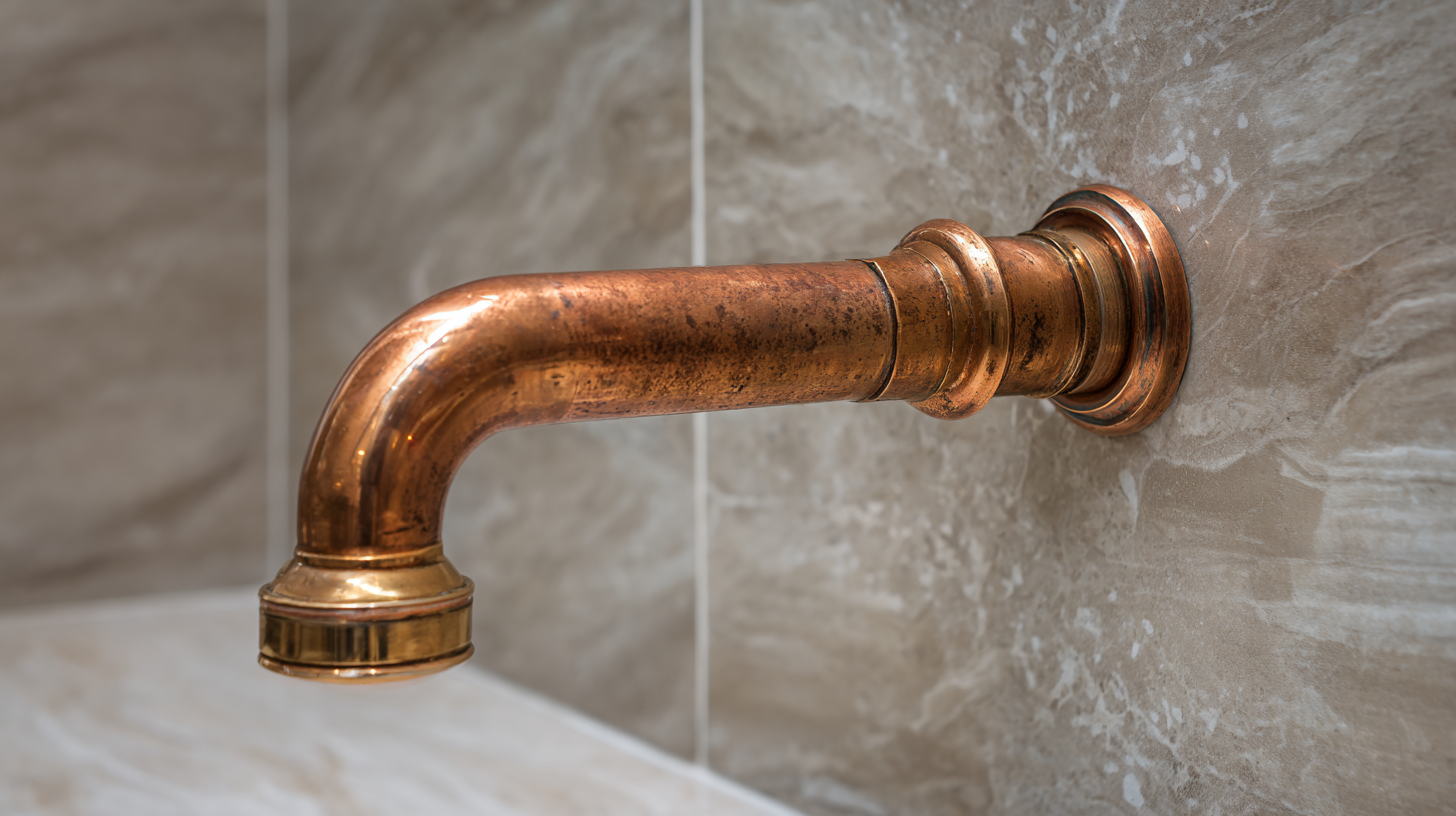
Understanding the basics of copper pipe installation in your home is essential for any homeowner looking to upgrade their plumbing system. According to a report by the Copper Development Association (CDA), over 90% of homes in the U.S. utilize copper pipes due to their durability and reliability. Copper not only resists corrosion but also inhibits the growth of bacteria, making it a safe choice for potable water systems. This durable metal can last over 50 years when installed properly, which speaks to its long-term cost-effectiveness compared to plastic alternatives.
When installing copper pipes, beginners should familiarize themselves with essential tools and techniques. A study by HomeAdvisor indicates that a DIY installation can save homeowners upwards of 30% in plumbing costs. Key steps include measuring and cutting pipes accurately, using fittings correctly, and mastering soldering techniques to ensure leak-proof joints. For those new to plumbing, investing in a quality pipe cutter and learning to solder can significantly enhance the overall installation quality. With the right preparation and knowledge, beginners can confidently tackle copper piping projects, leading to a more efficient and reliable plumbing system in their homes.
Copper Pipe Installation Steps and Time Allocation
Essential Tools and Materials Needed for Copper Pipe Installation
When embarking on a copper pipe installation project, having the right tools and materials is crucial for a smooth process. Start by gathering essential tools such as a pipe cutter, which allows for clean, precise cuts, ensuring that the pipes fit together seamlessly. A propane torch is also necessary for soldering the joints, alongside solder wire and flux, which help create a strong bond between the pipes. Don't forget a pipe wrench for secure fittings and a deburring tool to remove sharp edges from cut pipe ends, minimizing the risk of leaks.
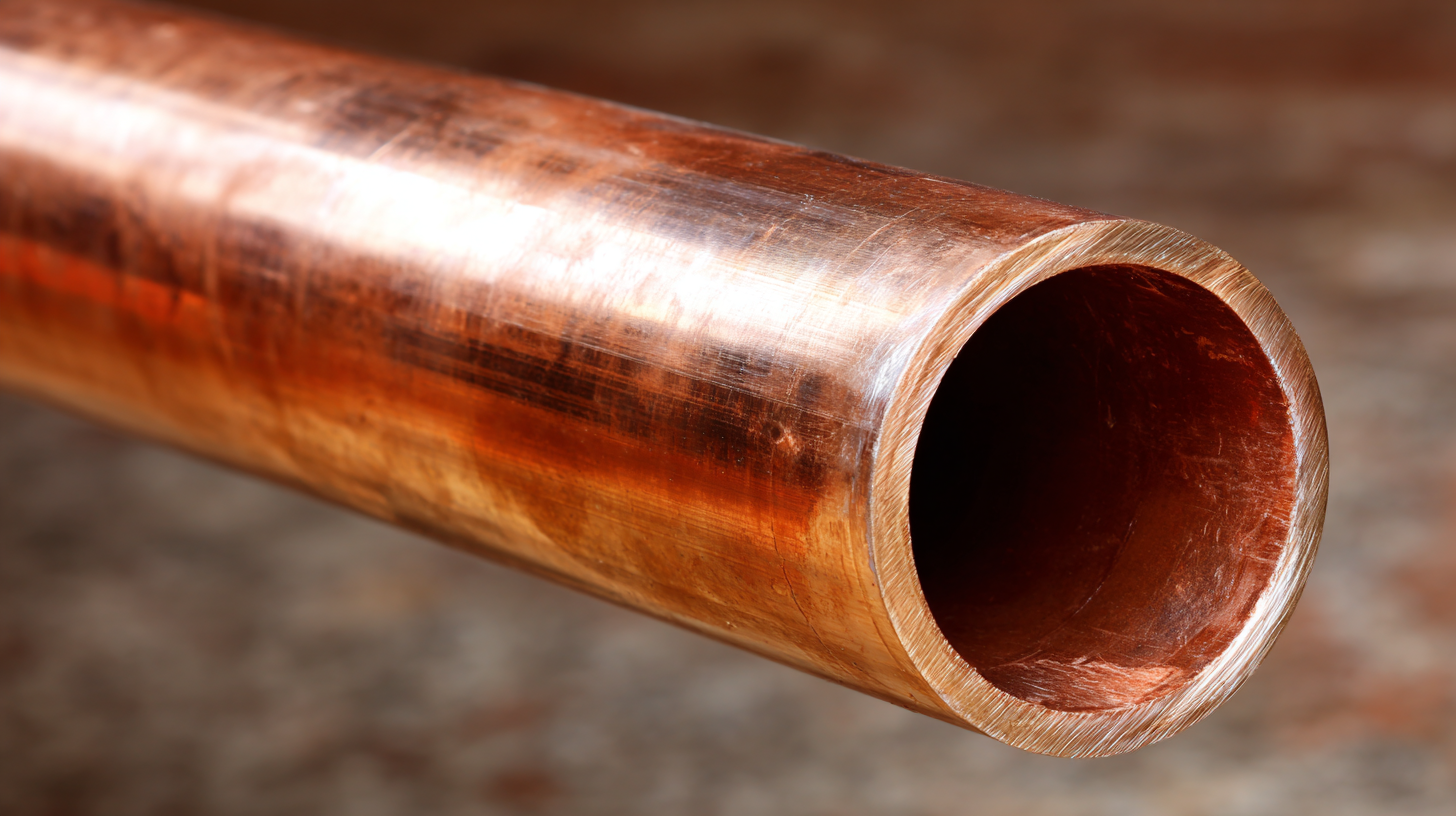
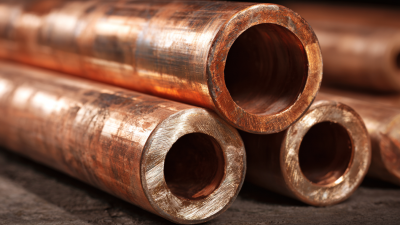
In addition to tools, make sure to have the appropriate materials on hand. You'll need copper pipes in various lengths and diameters based on your specific plumbing requirements. Fittings, such as elbows, tees, and couplings, are also vital for connecting different sections of pipe. Lastly, having a good quality pipe insulation is important for energy efficiency and preventing condensation issues. With these essential tools and materials ready, you'll be well-equipped to tackle your copper pipe installation with confidence.
Step-by-Step Instructions for Cutting and Fitting Copper Pipes
When it comes to installing copper pipes in your home, cutting and fitting them correctly is crucial for a successful project. Start by gathering the necessary tools: a pipe cutter, a measuring tape, a marker, and a deburring tool. Measure the lengths you need carefully, taking into account any fittings you’ll be using. Once you've marked the pipe, use the pipe cutter to create a clean cut. Rotate the cutter around the pipe gradually tightening it until the cutter breaks through. This will ensure that you have a straight edge for a proper fit.
After cutting the pipes, it’s important to deburr the edges. Use the deburring tool to remove any sharp edges or burrs left from the cutting. This step is essential as it prevents damage to the fittings during installation. Next, assemble the pipes by applying flux to the ends and the fittings before soldering. Heat the joint evenly with a torch and then apply solder until it flows into the joint. This method ensures a watertight seal. Remember that patience and precision are key in this process; take your time to achieve the best results for a functional plumbing system.

Techniques for Soldering and Securing Copper Pipes Properly
Soldering copper pipes is a fundamental skill for any DIY enthusiast. Before you start, gather the necessary materials: copper pipes, fittings, flux, solder, a propane torch, and a wet cloth for cooling the joints. Begin by preparing your pipes and fittings; ensure they are clean and free of any oxidation. Use a pipe brush to scrub the surfaces where you will apply solder. This step is crucial, as a clean surface allows for better adhesion and a stronger joint.
Once your pipes are prepped, apply flux evenly around the surfaces to be joined. Flux helps the solder flow smoothly and fill any gaps between the pipe and fitting. Heat the joint with your propane torch until the flux begins to bubble, indicating it’s ready for soldering. Quickly touch the solder to the joint; it should melt instantly and fill the gap. Remove the heat and allow the joint to cool naturally; use the wet cloth to wipe away excess flux, ensuring a clean finish.
Mastering these soldering techniques not only enhances your plumbing skills but also helps in securing a reliable and leak-proof system in your home.
Common Mistakes to Avoid During Copper Pipe Installation
When installing copper pipes in your home, avoiding common mistakes can save both time and money. One frequent error is failing to clean the surfaces before soldering. A dirty joint can lead to weak bonds and potential leaks. According to a report by the Plumbing-Heating-Cooling Contractors Association, improper soldering accounts for nearly 25% of pipe failures in residential plumbing. Ensuring all metal surfaces are clean and free of oxidation is crucial for a reliable installation.
Another mistake novice installers often make is neglecting to account for thermal expansion. Copper pipes expand when heated and contract when cooled, and if they are fixed too rigidly at both ends, the stress can lead to damage over time. It's advisable to leave some space for movement or use flexible fittings. A study from the Copper Development Association highlights that proper allowance for thermal expansion can extend the life of your piping system by up to 15%.
**Tips:** Always double-check your measurements before cutting; the saying "measure twice, cut once" is especially relevant with copper piping. Additionally, invest in a quality pipe cutter, as it can make clean cuts without deforming the pipe's shape, ensuring a better fit and seal during assembly.
How to Install Copper Pipe in Your Home: A Step-by-Step Guide for Beginners
| Step |
Description |
Common Mistakes |
| 1 |
Gather tools and materials including copper pipes, fittings, a pipe cutter, and soldering equipment. |
Not having all necessary tools can cause delays. |
| 2 |
Measure and cut copper pipes to the desired lengths. |
Inaccurate measurements can lead to improper fits. |
| 3 |
Clean the ends of the pipes and fittings to ensure a good connection. |
Skipping the cleaning step can result in leaks. |
| 4 |
Assemble the pipes and fittings, ensuring all connections are snug. |
Loose fittings can lead to weak joints. |
| 5 |
Solder the joints carefully, taking care to avoid overheating. |
Overheating can damage pipes or fittings. |
| 6 |
Allow the joints to cool and check for leaks by turning on the water supply. |
Failing to check for leaks can cause water damage later. |